
10 Common Home Repairs You Can Do Yourself
Homeownership comes with its fair share of maintenance and repairs. While for more complicated projects you’ll want to leave it to the pros, there’s a fair amount of small repairs and projects that you can do with just a few tools and some patience.
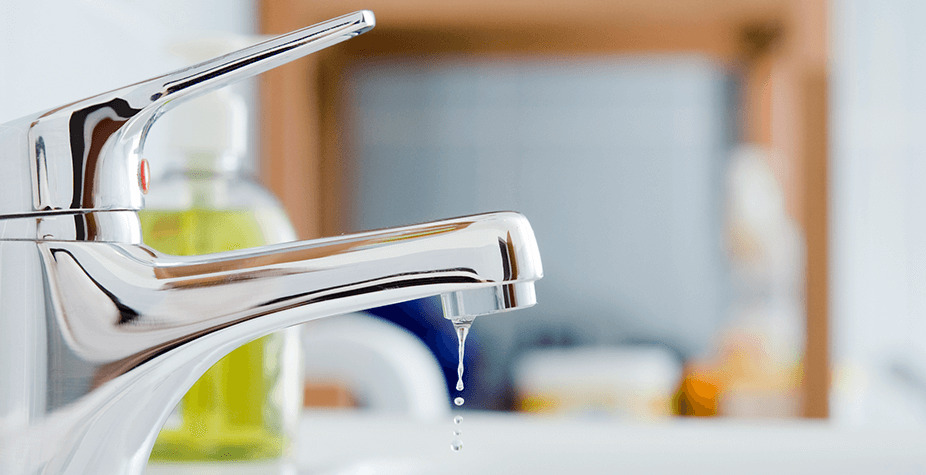
Fixing a Leaky Faucet
Difficulty: (Easy)
Time Needed: (30-60 minutes)
Drip Drip Drip
A leaky faucet is not only annoying but can also waste a significant amount of water over time. The cause is often a worn-out washer or O-ring, which are inexpensive and easy to replace.
Tools Needed:
Adjustable wrench
Screwdriver
Replacement washers/O-rings
Step by Step
- Turn Off the Water Supply: Look under the sink for the shutoff valves. Turn the valves clockwise to shut off the water. If there are no shutoff valves, turn off the main water supply for your house.
- Plug the Sink Drain: Use a sink plug or a rag to prevent small parts from falling down the drain.
- Remove the Faucet Handle: Use a screwdriver to remove the screw holding the faucet handle in place. The screw might be under a decorative cap that can be pried off with a flathead screwdriver.
- Disassemble the Faucet: Depending on your faucet type, you may need to unscrew additional parts. Use an adjustable wrench or pliers to carefully remove the packing nut. Take note of how everything is assembled so you can reassemble it later.
- Inspect the Washer/O-Ring: Look for the washer or O-ring inside the valve seat. If it looks worn or damaged, this is likely the cause of the leak.
- Replace the Washer/O-Ring: Take the old washer/O-ring to the hardware store to find an exact match. Install the new washer/O-ring in the same position.
- Reassemble the Faucet: Carefully reassemble the faucet in the reverse order you disassembled it. Make sure each part is securely in place.
- Turn the Water Supply Back On: Slowly turn the water supply back on and check for leaks. If everything is dry, the repair is successful.
Tips:
- Take pictures of each step as you disassemble the faucet. This will help you remember how to put it back together.
- If you have trouble removing any parts, try applying a bit of penetrating oil and waiting a few minutes before trying again.
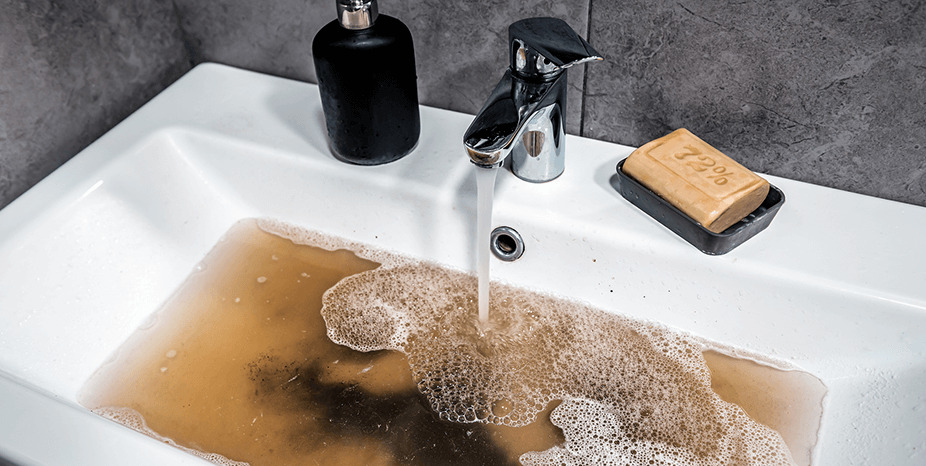
Unclogging a Drain
Difficulty: (Easy)
Time Needed: (30-60 minutes)
Slow or clogged drains are a common issue in many households. Hair, soap scum, and debris can build up in pipes, causing water to drain slowly or not at all. Here's a detailed guide to unclogging a drain:
Tools Needed:
Plunger
Plumber’s snake
Baking soda
Vinegar
Boiling water
Rubber gloves
Steps:
1. Use a Plunger:
- Fill the Sink/Tub with Water: If the drain is in a sink or tub, add enough water to cover the plunger cup.
- Position the Plunger: Place the plunger over the drain, ensuring a tight seal.
- Plunge: Push the plunger down and pull up with force, repeating several times. If the water starts to drain, you’ve cleared the clog. If not, proceed to the next step.
2. Use Baking Soda and Vinegar:
- Pour Boiling Water: Pour a kettle of boiling water down the drain.
- Add Baking Soda: Pour 1/2 cup of baking soda into the drain.
- Add Vinegar: Pour 1 cup of vinegar into the drain. The mixture will fizz and bubble.
- Wait: Let the mixture sit for 15-20 minutes.
- Flush with Boiling Water: Pour another kettle of boiling water down the drain.
3. Use a Plumber’s Snake:
- Insert the Snake: Push the end of the plumber’s snake into the drain and turn the handle clockwise to extend it further into the pipe.
- Break Up the Clog: When you feel resistance, you’ve reached the clog. Twist and push the snake to break up the clog.
- Remove the Snake: Pull the snake out and dispose of any debris it brings up.
- Flush with Water: Run hot water to flush out any remaining debris.
Tips:
- Wear rubber gloves to keep your hands clean.
- If the clog persists, you may need to repeat the process or call a professional.
Patching Drywall Holes
1. Use a Plunger:
- Fill the Sink/Tub with Water: If the drain is in a sink or tub, add enough water to cover the plunger cup.
- Position the Plunger: Place the plunger over the drain, ensuring a tight seal.
- Plunge: Push the plunger down and pull up with force, repeating several times. If the water starts to drain, you’ve cleared the clog. If not, proceed to the next step.
2. Use Baking Soda and Vinegar:
- Pour Boiling Water: Pour a kettle of boiling water down the drain.
- Add Baking Soda: Pour 1/2 cup of baking soda into the drain.
- Add Vinegar: Pour 1 cup of vinegar into the drain. The mixture will fizz and bubble.
- Wait: Let the mixture sit for 15-20 minutes.
- Flush with Boiling Water: Pour another kettle of boiling water down the drain.
3. Use a Plumber’s Snake:
- Insert the Snake: Push the end of the plumber’s snake into the drain and turn the handle clockwise to extend it further into the pipe.
- Break Up the Clog: When you feel resistance, you’ve reached the clog. Twist and push the snake to break up the clog.
- Remove the Snake: Pull the snake out and dispose of any debris it brings up.
- Flush with Water: Run hot water to flush out any remaining debris.
Tips:
- Wear rubber gloves to keep your hands clean.
- If the clog persists, you may need to repeat the process or call a professional.
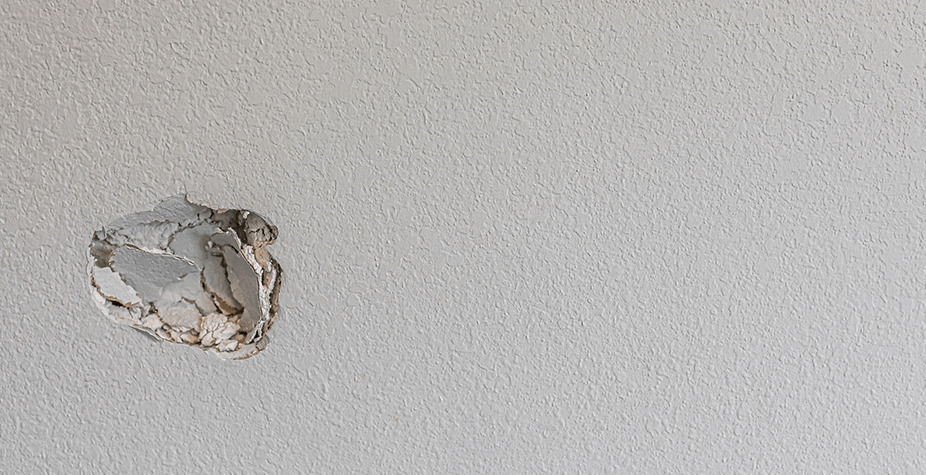
Patching Drywall Holes
Difficulty: (Moderate)
Time Needed: (60-90 minutes)
Whether from moving furniture or accidental bumps, drywall holes are unsightly but easy to fix. Here's a detailed guide to patching drywall holes:
Tools Needed:
Spackle
Putty knife
Sandpaper (medium and fine grit)
Patch kit (for larger holes)
Primer
Paint
Paintbrush or roller
Steps for Small Holes:
Clean the Area:
- Use a damp cloth to clean the area around the hole. Ensure it's free of dust and debris.
Apply Spackle:
- Scoop a small amount of spackle onto the putty knife.
- Spread the spackle over the hole, pressing it into the hole and smoothing it out. Apply in thin layers to avoid creating a lump.
Let It Dry:
- Allow the spackle to dry according to the manufacturer's instructions. This usually takes about 1-2 hours.
Sand the Surface:
- Once the spackle is completely dry, use medium-grit sandpaper to smooth the surface. Finish with fine-grit sandpaper for a smoother finish.
Prime and Paint:
- Apply a primer over the patched area to seal the spackle and prepare it for painting.
- Once the primer is dry, paint the area to match the rest of the wall. You may need multiple coats for full coverage.
Steps for Larger Holes:
Clean the Area:
- Clean around the hole with a damp cloth.
Attach the Patch:
- Use a patch kit, which typically includes a mesh patch. Place the patch over the hole, ensuring it covers the entire area.
Apply Spackle:
- Spread spackle over the patch, extending slightly beyond the edges of the patch to blend with the surrounding wall. Use the putty knife to smooth it out.
Let It Dry:
- Allow the spackle to dry completely, following the manufacturer's instructions.
Sand the Surface:
- Sand the patched area with medium-grit sandpaper, followed by fine-grit sandpaper for a smooth finish.
Prime and Paint:
- Apply a primer over the patched area.
- Once the primer is dry, paint the area to match the rest of the wall.
Tips:
- For the best results, apply spackle in thin layers and let each layer dry completely before adding the next.
- Use fine-grit sandpaper to avoid scratching the wall.
- Always use primer before painting to ensure the paint adheres properly and the patch is less noticeable.
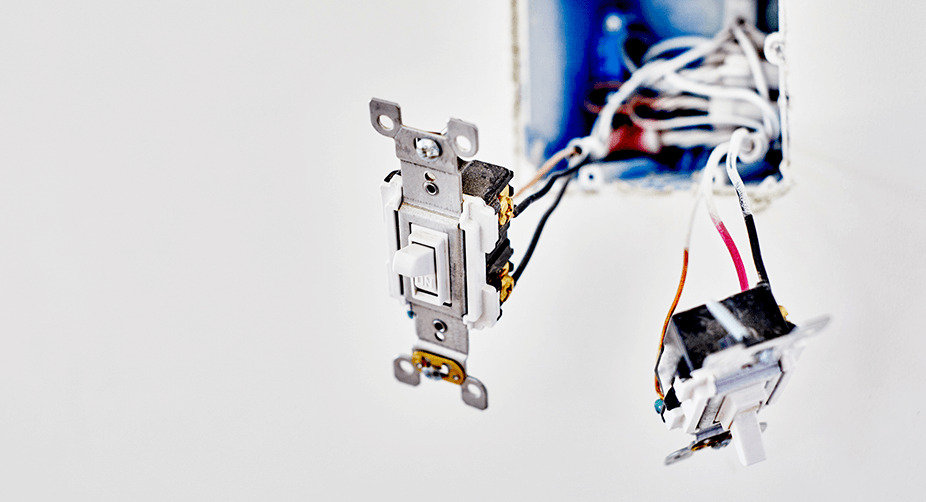
Replacing a Light Switch
Difficulty: (Moderate)
Time Needed: (15-30 minutes)
Faulty light switches are a common problem and relatively simple to replace. This should be handled with care as you’re dealing with electrical work. Here's a detailed guide to replacing a light switch:
Tools Needed:
Screwdriver
New light switch
Wire-stripper (possibly)
Voltage tester (optional)
Electrical tape (optional)
Steps:
Turn Off the Power:
- Locate your home’s electrical panel and turn off the circuit breaker that controls the light switch. This is crucial for safety.
- Use a voltage tester to ensure the power is off. Test it by touching the tester to the wires connected to the switch.
Remove the Old Switch:
- Unscrew the switch plate cover using a screwdriver.
- Unscrew the mounting screws that hold the switch to the electrical box and carefully pull the switch out.
- Take note of how the wires are connected to the switch. You might want to take a photo for reference.
Disconnect the Wires:
- Loosen the terminal screws and disconnect the wires from the old switch. If there are any pieces of electrical tape on the wires, carefully remove them.
Prepare the New Switch:
- Check the new switch to make sure it matches the configuration of the old switch (single-pole, three-way, etc.).
- If needed, strip about 1/2 inch of insulation from the ends of the wires using wire strippers.
Connect the New Switch:
- Attach the wires to the terminals on the new switch. Typically, the black (hot) wire goes to the brass terminal, the white (neutral) wire goes to the silver terminal, and the green or bare copper (ground) wire goes to the green terminal.
- Tighten the terminal screws securely.
Install the New Switch:
- Carefully push the switch back into the electrical box.
- Secure the switch to the box with the mounting screws.
Reattach the Switch Plate:
- Screw the switch plate cover back on.
Turn the Power Back On:
- Go back to the electrical panel and turn the circuit breaker back on.
- Test the new switch to ensure it’s working properly.
Tips:
- Always ensure the power is off before starting any electrical work.
- Use a voltage tester to double-check that the wires are not live.
- If you encounter any complications, consult with a professional electrician.
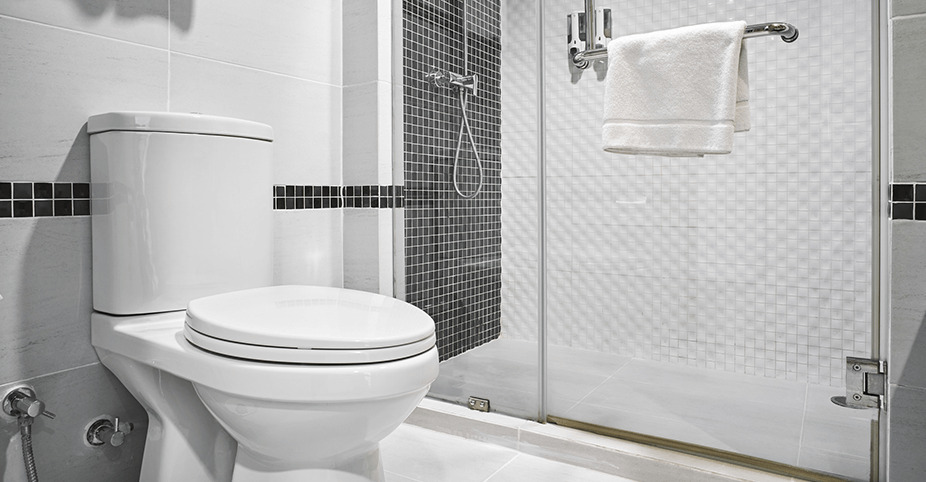
Repairing a Running Toilet
Difficulty: (Easy)
Time Needed: (15-30 minutes)
A toilet that constantly runs can waste a lot of water. Often, the cause is a faulty flapper valve, which is easy to replace. Here's a detailed guide to repairing a running toilet:
Tools Needed:
- New flapper valve
- Pliers
- Towel (optional)
Steps:
Turn Off the Water Supply:
- Locate the shutoff valve on the wall behind the toilet and turn it clockwise to shut off the water supply.
- Flush the toilet to empty the tank. You may want to use a towel to soak up any remaining water at the bottom of the tank.
Remove the Old Flapper Valve:
- Open the toilet tank lid and set it aside carefully.
- Locate the flapper valve at the bottom of the tank. It is usually attached to the overflow tube with a chain.
- Unhook the flapper from the overflow tube by sliding it off the pegs or disconnecting the hooks.
- Remove the chain from the flush handle lever.
Install the New Flapper Valve:
- Attach the new flapper to the overflow tube by sliding it onto the pegs or hooking it into place.
- Connect the new chain to the flush handle lever. Ensure the chain has a slight slack but is not too loose, which can cause it to tangle or too tight, which can prevent a proper seal.
Adjust the Chain Length:
- Test the flapper by pressing the flush handle. The flapper should lift easily and then drop back into place, creating a tight seal.
- Adjust the chain length if needed. The flapper should fully cover the drain when in the down position.
Turn the Water Supply Back On:
- Turn the shutoff valve counterclockwise to restore the water supply.
- Allow the tank to fill, then flush the toilet a few times to ensure the new flapper is working properly and the toilet is no longer running.
Tips:
- Ensure the new flapper valve is compatible with your toilet model.
- If the toilet still runs after replacing the flapper, check for other potential issues such as the fill valve or flush handle.
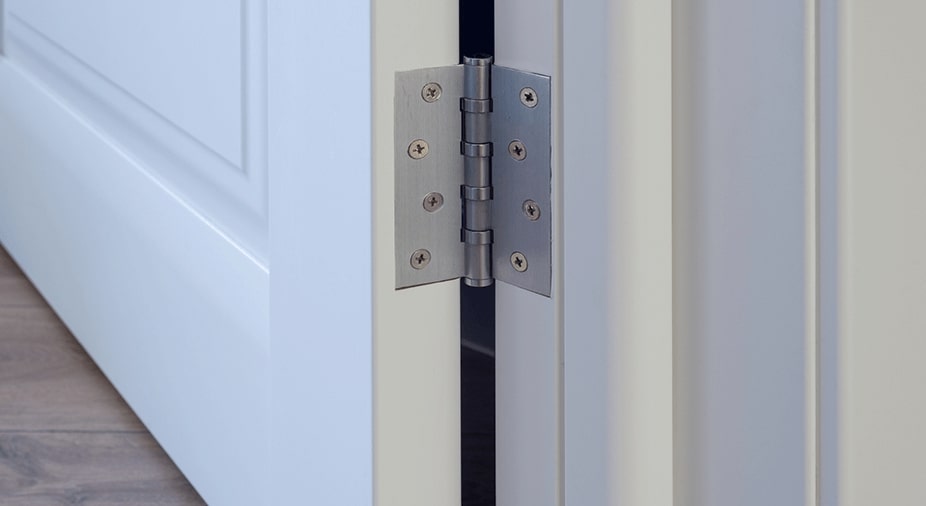
Fixing Squeaky Doors
Difficulty: (Easy)
Time Needed: (5-10 minutes)
Squeaky doors are usually due to friction in the hinges. Here's a detailed guide to fixing squeaky doors:
Tools Needed:
- Lubricant (WD-40 or petroleum jelly)
- Screwdriver
- Cloth or paper towels
Steps:
Identify the Squeaky Hinge:
- Open and close the door a few times to determine which hinge is causing the squeak.
Apply Lubricant:
- Shake the can of WD-40 well before use, or have your petroleum jelly ready.
- Hold a cloth or paper towel under the hinge to catch any drips.
- Apply the lubricant directly onto the hinge pin and moving parts of the hinge. If using WD-40, spray a small amount; if using petroleum jelly, apply a small amount with your finger or a cloth.
Work the Lubricant In:
- Open and close the door several times to work the lubricant into the hinge. This helps reduce the friction causing the squeak.
Wipe Off Excess Lubricant:
- Use a cloth or paper towel to wipe off any excess lubricant from the hinge and surrounding area to prevent drips and mess.
Tighten Hinge Screws:
- If the squeak persists, check the hinge screws. Use a screwdriver to tighten any loose screws on the hinges. Loose screws can cause the hinges to misalign, leading to squeaks.
Replace the Hinges (if needed):
- If the squeak still persists after lubrication and tightening the screws, you may need to replace the hinges. Remove the old hinges with a screwdriver, align the new hinges in place, and secure them with screws.
Tips:
- If you don’t have WD-40 or petroleum jelly, household oil or even bar soap can work as temporary fixes.
- Regular maintenance of door hinges can prevent squeaks from developing.
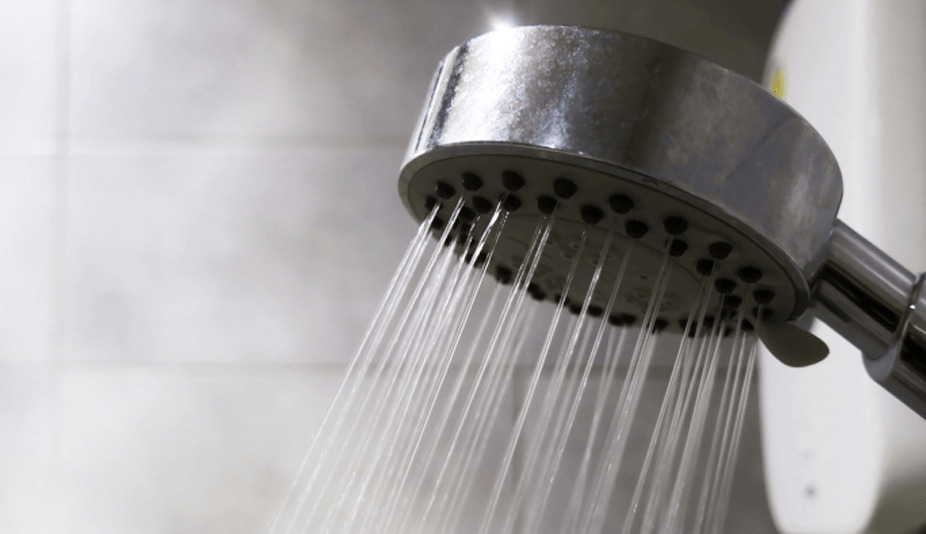
Replacing a Showerhead
Difficulty: (Easy)
Time Needed: (15-30 minutes)
Upgrading or replacing a showerhead is a quick and straightforward task. Here's a detailed guide to replacing a showerhead:
Tools Needed:
- New showerhead
- Plumber's tape
- Adjustable wrench
- Cloth or rag
Steps:
Remove the Old Showerhead:
- Use an adjustable wrench to grip the base of the old showerhead.
- Turn the wrench counterclockwise to unscrew the showerhead from the shower arm.
- If the showerhead is stuck, use a cloth or rag to protect the finish while applying extra force with the wrench.
Clean the Threads:
- Once the old showerhead is removed, clean the threads of the shower arm. Use a cloth or rag to wipe away any old plumber's tape, debris, or rust.
Apply Plumber's Tape:
- Wrap the threads of the shower arm with plumber's tape. This helps create a watertight seal and prevents leaks.
- Wrap the tape clockwise around the threads 2-3 times to ensure complete coverage.
Install the New Showerhead:
- Screw the new showerhead onto the shower arm by hand, turning it clockwise.
- Use the adjustable wrench to tighten the showerhead securely. Be careful not to overtighten, as this can damage the threads or the showerhead.
Check for Leaks:
- Turn on the water and test the new showerhead. Ensure there are no leaks around the connection.
- If you notice any leaks, turn off the water, tighten the showerhead a bit more, and retest.
Tips:
- If you’re installing a showerhead with multiple settings, follow the manufacturer’s instructions for setup.
- Regularly clean your showerhead to maintain water flow and pressure.
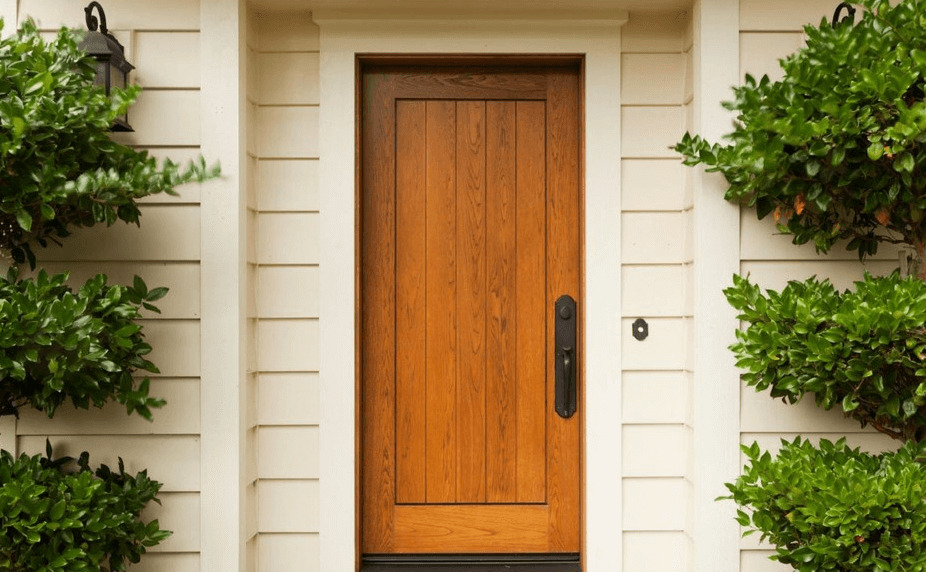
Sealing Drafty Windows and Doors
Difficulty: (Moderate)
Time Needed: (30-60 minutes)
Drafty windows and doors can lead to higher energy bills by allowing cold air in during the winter and letting cool air escape in the summer. Sealing these gaps can improve your home's energy efficiency. Here's a detailed guide to sealing drafty windows and doors:
Tools Needed:
- Weatherstripping or caulk
- Caulk gun (if using caulk)
- Scissors or utility knife
- Measuring tape
- Putty knife (optional)
- Rags or paper towels
Steps for Using Weatherstripping:
Inspect and Clean the Area:
- Check the windows and doors for gaps and drafts. Inspect around the frames, sashes, and edges.
- Clean the area thoroughly with a rag to ensure the weatherstripping adheres properly. Remove any dust, dirt, or old adhesive.
Measure the Area:
- Use a measuring tape to measure the length of the gaps you need to seal.
- Cut the weatherstripping to the appropriate lengths with scissors or a utility knife.
Apply the Weatherstripping:
- Peel off the backing from the adhesive side of the weatherstripping.
- Press the weatherstripping firmly into place along the edges of the window or door frame. Make sure it creates a tight seal when the window or door is closed.
Steps for Using Caulk:
Inspect and Clean the Area:
- Identify the gaps and drafts around windows and doors.
- Use a putty knife to remove any old caulk or debris from the area.
- Clean the surface with a rag and ensure it is dry before applying new caulk.
Prepare the Caulk Gun:
- Cut the tip of the caulk tube at a 45-degree angle to the desired width of the bead.
- Load the tube into the caulk gun.
Apply the Caulk:
- Hold the caulk gun at a consistent angle and apply a steady bead of caulk along the gaps.
- Smooth the caulk with your finger or a caulking tool to ensure it fills the gap and adheres properly.
Clean Up:
- Wipe away any excess caulk with a rag or paper towel before it dries.
- Allow the caulk to dry according to the manufacturer's instructions before painting or closing the window/door.
Tips:
- Choose the right type of weatherstripping or caulk for your needs. Foam weatherstripping is great for doors, while silicone caulk works well for windows.
- For large gaps, consider using expanding foam sealant for a better seal.
- Regularly inspect your windows and doors for new drafts and reseal as necessary.
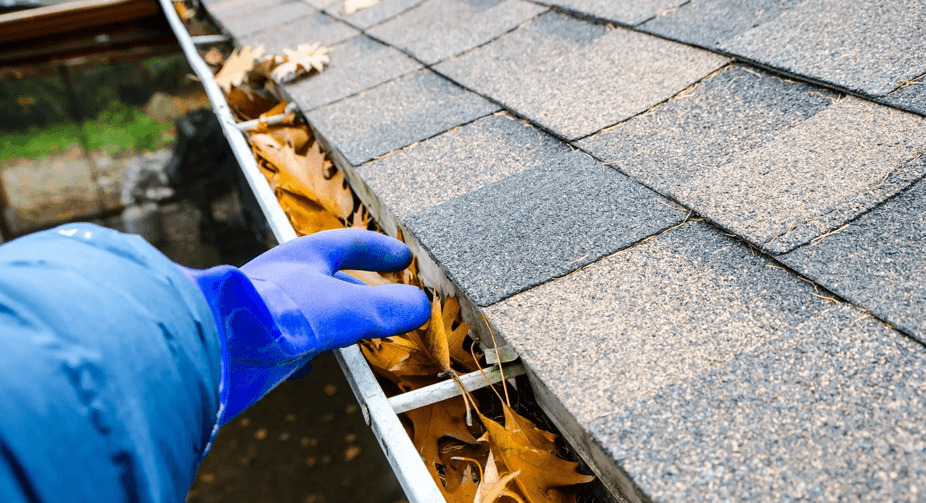
Cleaning Gutters
Difficulty: (Moderate)
Time Needed: (1-2 hours)
Clogged gutters can cause water damage to your home by allowing water to overflow and seep into the foundation or walls. Regularly cleaning your gutters can prevent this. Here's a detailed guide to cleaning gutters:
Tools Needed:
- Ladder
- Gloves
- Gutter scoop
- Garden hose
- Bucket or tarp
- Safety glasses (optional)
Steps:
Prepare for Safety:
- Wear gloves to protect your hands from sharp debris and dirty water.
- Use a sturdy ladder that extends well above the gutters. Ensure the ladder is on stable, level ground.
- Consider using safety glasses to protect your eyes from debris.
Position the Ladder:
- Place the ladder at a stable angle against the house, near the section of gutter you will clean first.
- Avoid overreaching; move the ladder as needed to keep your body between the ladder rails.
Remove Debris:
- Use a gutter scoop to remove leaves, twigs, and other debris from the gutter. Place the debris in a bucket or drop it onto a tarp on the ground for easy cleanup.
- Work your way along the gutter, moving the ladder as necessary.
Clear Downspouts:
- Check that the downspouts are clear by running water from the garden hose through them. If the water doesn’t flow freely, there may be a clog.
- To clear a clog, use the garden hose to spray water upward into the downspout or use a plumber’s snake to dislodge the blockage.
Rinse the Gutters:
- After removing the bulk of the debris, use a garden hose to rinse the gutters. Start at the end opposite the downspout and work your way towards it, ensuring the water flows smoothly through the downspout.
Check for Leaks and Repairs:
- While rinsing the gutters, check for any leaks or damage.
- If you find any leaks, dry the area and apply gutter sealant to seal the leaks.
Tips:
- Clean your gutters at least twice a year, in the spring and fall, or more often if you have overhanging trees.
- Consider installing gutter guards to reduce the amount of debris that collects in your gutters.
- Be mindful of power lines and ensure your ladder does not come into contact with them.
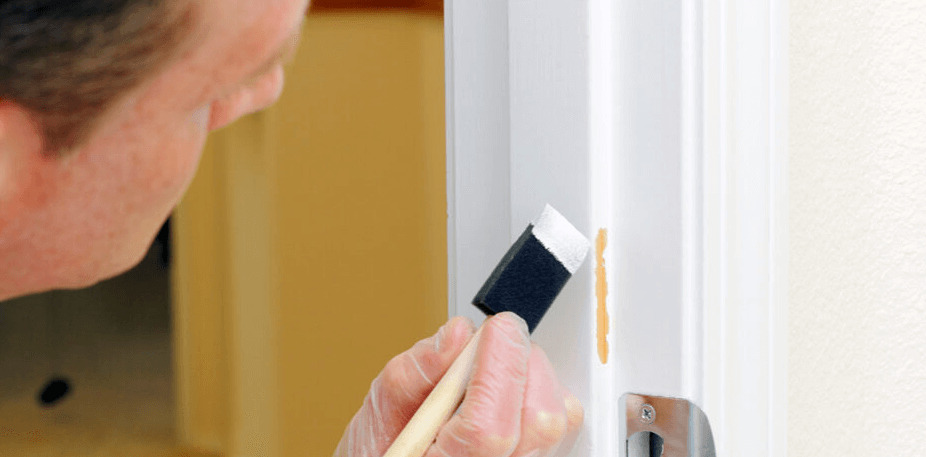
Touching Up Paint
Difficulty: (Easy)
Time Needed: (15-30 minutes for small areas, longer for larger areas)
Scuffed or chipped paint can make a room look worn. Touching up paint is a simple task that can refresh the look of your space. Here's a detailed guide to touching up paint:
Tools Needed:
- Touch-up paint
- Paintbrush
- Sandpaper (medium and fine grit for larger areas)
- Primer (for larger areas)
- Painter’s tape (optional)
- Clean cloth or sponge
Steps for Small Areas:
Prepare the Area:
- Clean the area to be touched up with a damp cloth or sponge to remove any dirt, dust, or grease.
- Let the area dry completely.
- Match the Paint:
- Ensure you have the correct color of touch-up paint. If you don’t have leftover paint from the original job, take a paint chip to a paint store for a color match.
Apply the Paint:
- Use a small brush to apply the touch-up paint to the scuffed or chipped area. Apply the paint in thin layers, feathering the edges to blend with the surrounding area.
- Allow the paint to dry between coats if multiple coats are necessary.
Steps for Larger Areas:
Prepare the Area:
- Clean the area with a damp cloth or sponge to remove any dirt or dust.
- Use painter’s tape to mask off any areas you don’t want to paint.
Sand the Area:
- Use medium-grit sandpaper to smooth the damaged area and remove any loose paint.
- Follow with fine-grit sandpaper for a smoother finish. Wipe away dust with a clean cloth.
Apply Primer:
- If the area is large or the damage goes down to bare drywall, apply a primer to the sanded area. This will help the new paint adhere better and provide a uniform surface.
Apply the Paint:
- Once the primer is dry, apply the touch-up paint using a brush or small roller. Apply in thin, even coats, blending the edges with the surrounding area.
- Allow each coat to dry completely before applying additional coats if needed.
Tips:
- Stir the touch-up paint thoroughly before use to ensure the color is consistent.
- For best results, use the same type of paint finish (e.g., matte, eggshell, semi-gloss) as the original paint.
- Test the touch-up paint on a small, inconspicuous area first to ensure it matches perfectly.
By following these detailed steps, you can effectively touch up paint and maintain the fresh, clean look of your walls. Regular touch-ups can keep your home looking well-maintained and beautiful.